8
5.0 Target Setup
CAUTION:
Severe damage can occur to the Syringe, SampleVials, and/orChromatography
Instrumentation if incorrect parameters are set. Remove the syringe from the holder.
CAUTION:
Themounting bracketmust be correctly installed before attemptingTarget Setup.
5.1 Target SetupProtocol
TheAutoSampler is designed to inject fromup to220 samples from .8ml samplevials, however, the
120position2ml vial tray is standard, intomost types ofGC septum injectionports. Two injection
portsmaybeestablishedanywherealong the travel lengthof the syringearm.
Target Setup involves completing the following steps.
1. Installing theMountBracket andAutoSampler to the analyzer.
2. Installing theSyringeHolder andSampleTraywith theWaste / Solvent installedon the correct
side for youGC inlet configuration.
3. Syringe Installation andCalibration
(be certain the syringe is removedbeforebeginningTarget
Setup).
4. Selecting theSampleTrayStyle.
5. Calibrating the samplevial #1position.
Note, neverallow theneedle topierce the septumof an
empty vial. Always have liquid in the vial. Thiswill help lubricate the needle in the septum.
6. SettingFlushVertical andWasteVertical positions.
7.Calibrating the syringe to the injectionport(s) location(s).
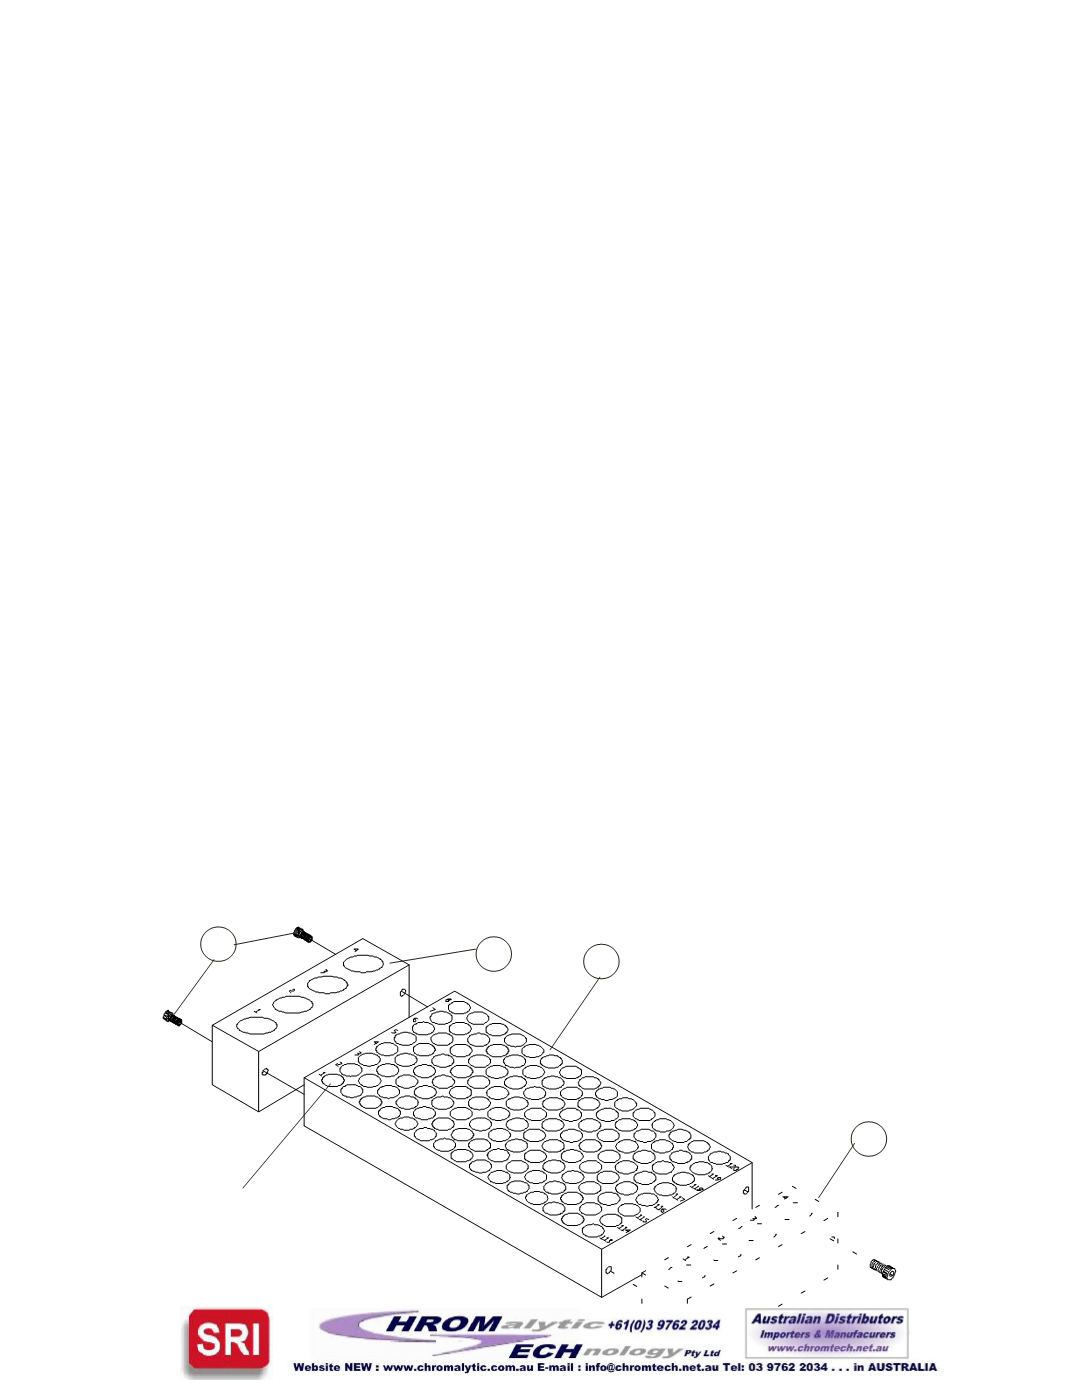
2
3
4
1
Vial Position#1
1. 4-40x1"SocketHead
Screws
2. Waste/SolventBlock
3. 120PositionSampleTray
4. OptionalWaste/
SolventPosition
8
Figure 5.1


