5 Operation Detail
5.1 Power On/Off
Press to power on the instrument. Be sure to plug in the impact device before
powering on. The system would automatically detect the type of the impact device during
power up, and would display this information on the screen. Users should pay attention to
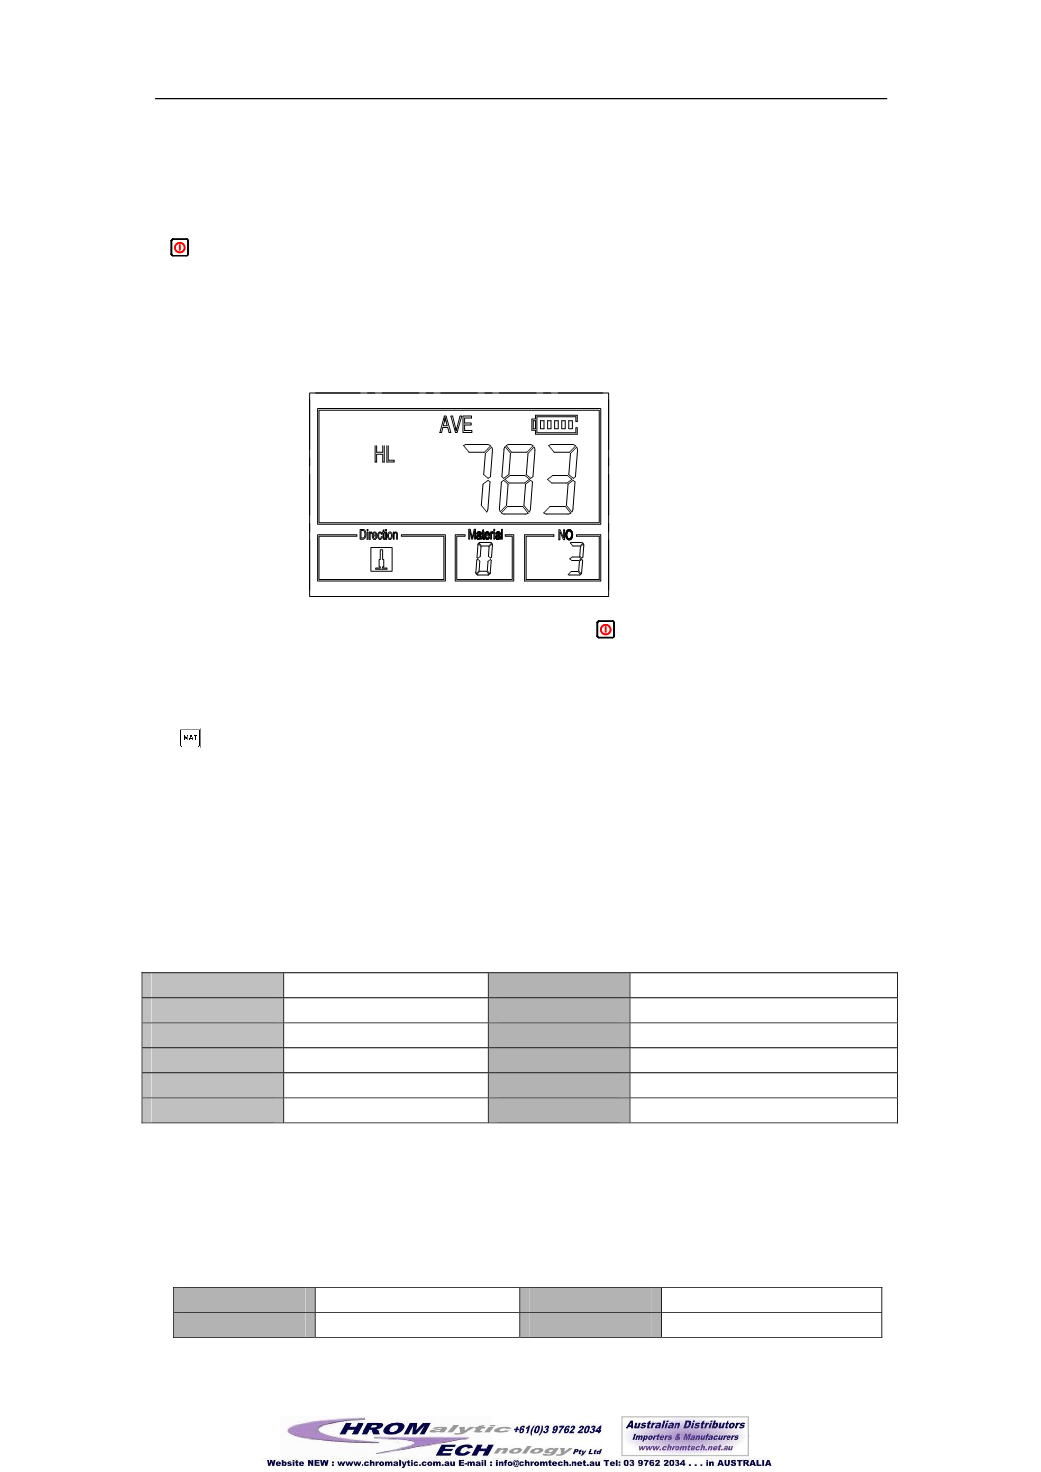
the probe type displayed on the screen. After pausing for several second, the screen will
exit and enter the main display screen as following:
The instrument can be turned off by pressing the key while it is working. The tool
has a special memory that retains all of its settings even when the power is off.
5.2 Material Setting
Press key to change the material to the one you want to preset. Hardness scale
recovers to HL automatically after material presetting changed. Please select material firstly,
then select hardness scale.
In hardness testing, you can select the material among the following materials: Steel
and Cast Steel
、
Cold Work Tool Steel
、
Stainless Steel
、
Gray Cast Iron
、
Nodular Cast Iron
、
Cast Aluminium Alloys
、
Copper-Zinc Alloys
、
Copper-Aluminium Alloys
、
Wrought Copper and
Wrought Steel. The relationship between the material number displayed on the instrument
screen and the material is as follows:
Table 5-1
Material No. Material
Material No. Material
0
Steel and cast steel 5
Cast aluminium alloys
1
Cold work tool steel 6
Copper-Zinc alloys
2
Stainless steel
7
Copper –Aluminium alloys
3
Gray cast iron
8
Wrought copper
4
Nodular cast iron
9
Wrought steel
In strength testing, the following materials are selectable: Mild Steel
、
High-Carbon Steel
、
Cr Steel
、
Cr-V Steel
、
Cr-Ni Steel
、
Cr-Mo Steel
、
Cr-Ni-Mo Steel
、
Cr-Mn-Si Steel
、
Super
Strength Steel and Stainless Steel. The relationship between the material number displayed
on the instrument screen and the material is as follows:
Table 5-2
Material No Material
Material No Material
0
Mild steel
5
Cr-Mo steel
12
202


