RestekCapillaryColumn InstallationGuide, Section II
Next, install the nut and ferrule to the inlet in themanner described in the instrument
manual. Use a pin vise and drill (cat.# 20103) to enlarge the ferrule ID if it does not
slide easily onto the column. Prevent shards from falling into the column bore by
pointing the column end downwhen installing the ferrule. Slide the connecting nut and
ferrule approximately 20cm down the length of the column tomake installation easier.
Cut an additional 10cm from the column end after the nut and ferrule have been
installed to remove any ferrule fragments that might have been forced into the column
bore. Examine the quality of the cut with a small 10x pocket magnifier (cat.# 20124)
andmake sure that the cut is square. Jagged silica edges or exposed polyimide cause
adsorption and tailing peaks, so it is very important that the column ends are cut
uniformly. It may take several times, but once a square cut has been obtained, proceed
with the installation. (Use an old column to practicemaking consistently square cuts.)
Inlet Installation
Consult the instrument manual to determine the correct insertion distance for the
injector. It is important to install the column at the exact distance recommended by the
injector manufacturer or poor peak symmetry and quantitation could occur. Lay the
column end beside a ruler and position the nut and ferrule to the exact distance
required for installation. Next, mark the insertion distance. This can be done one of
threeways: with a pair of Slide-Lok Tweezers (cat.# 20101), with typewriter correction
fluid, or by positioning a septum on the column to hold the nut and ferrule. If using a
septum, slide it away from the nut after the fitting is tightened and leave it in the oven
cavitywhile performing the analysis.
Gently insert the column end into the inlet fitting, making sure that the end is not
crushed or scraped against themetal injection port fittings. Whilemaintaining the
correct distance, use a capillarywrench to tighten the nut approximately one-half turn
past finger-tight until the column is held firmly. The ferrule is tight if the column cannot
be pulled from the fittingwhile applying gentle pressure.
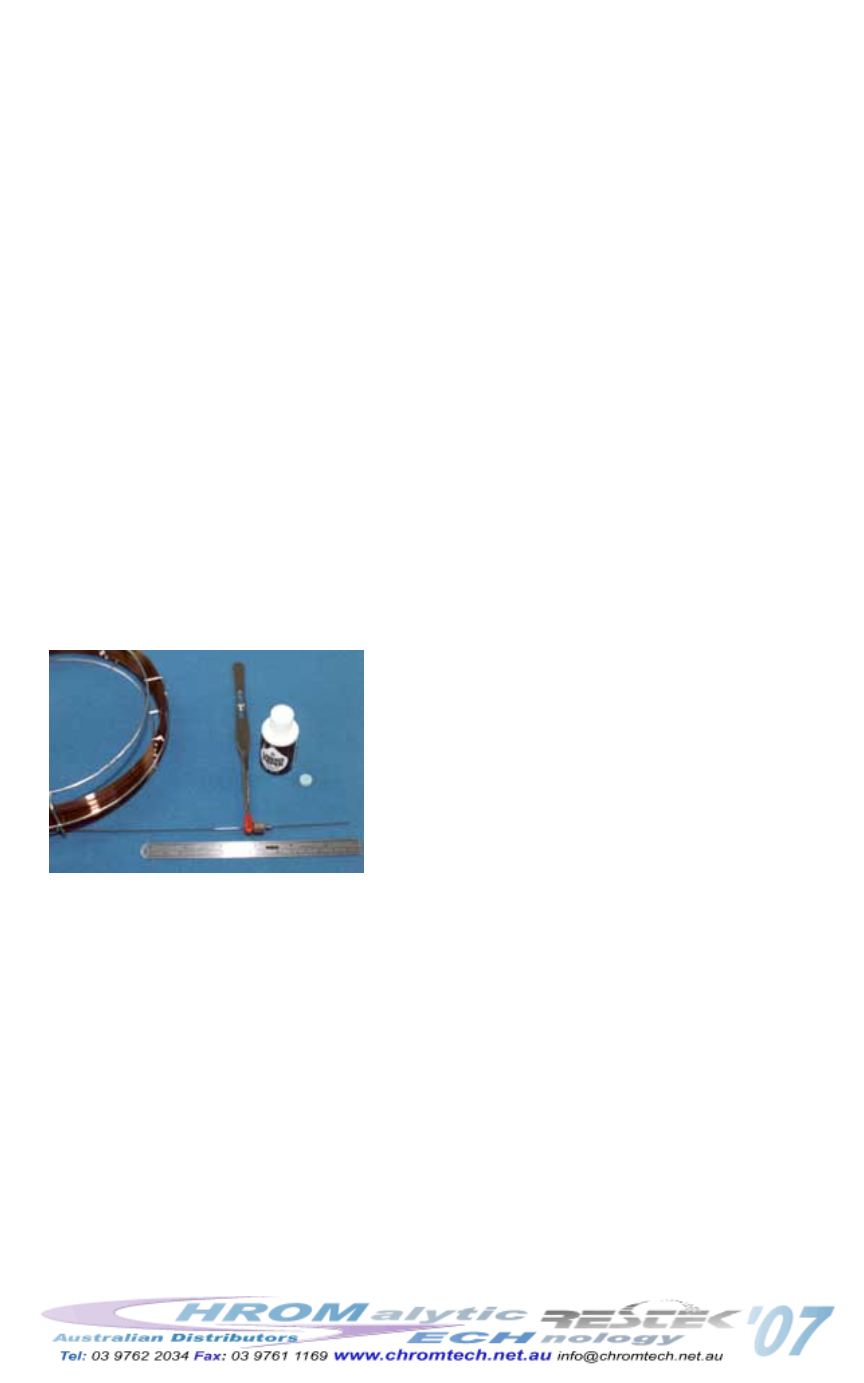
Various ways tomark the
insertion distance
Make sure the fused silica tubing is not sharply bent when installing the column (
Figure
G
). The tubing should gently bend from the cage to the fitting in angles greater than
90° or in diameters greater than 15cm. Sharp bends weaken the fused silica and
eventually cause spontaneous breakage during use. If the tubing cannot be positioned
to avoid sharp bends, then repeat the installation process and uncoil the appropriate
amount of tubing from the cage.


